Do your kids love science? Even the simplest of experiments can be exciting activities of discovery and this ice experiment falls into that category. It’s very simple to put together, but also a lot of fun for kids to explore.
Ice Experiment: Which added material (variable) will melt ice the fastest?
What You’ll Need:
- Ice tray or uniform containers to form ice
- Measuring cup
- Water
- Small toys (for fun!)
- Variables to test- salt, warm water, sugar, etc.
- Bowls or bins to hold the ice while being monitored
- Timer
The Experiment:
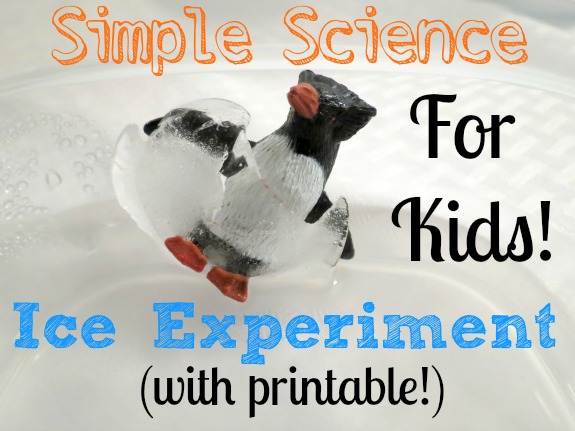
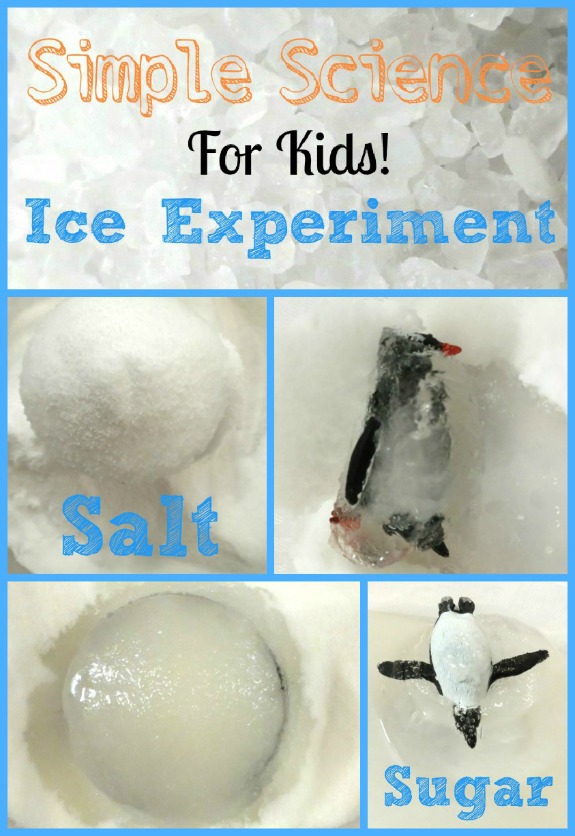
We’ve been studying the antarctic, so we decided to freeze the penguins from a Safari Ltd. Penguin TOOB. The penguins are too large to freeze in a standard ice cube tray, so I placed them in disposable plastic party cups. We put one penguin in each cup and then carefully added the same amount of water to each using a measuring cup. We placed the cups in our freezer, but if it’s cold enough where you live you can just set them outside!
Then I posed the question. What do you think would melt the ice, and free the penguins, the fastest? What should we test?
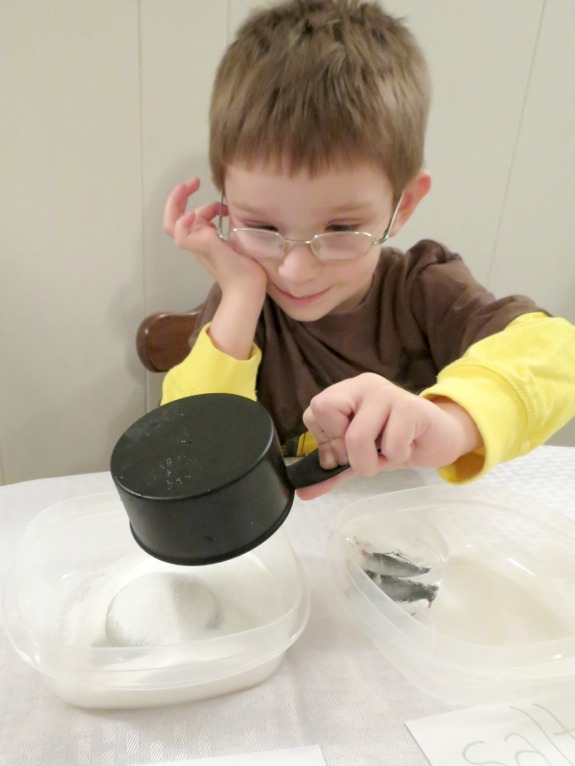
We recently got the opportunity to see roads being salted while on vacation, but it wasn’t the salt we see on the dinner table! So we decided to test rock salt, table salt, sugar, and warm water. We also really wanted to test a sunny windowsill, but this rainy winter weather we’ve been having wasn’t cooperating. You can really explore a lot of different variables. You could even get silly! In hindsight, something a bit wacky would have been a fun addition. And don’t forget the control! Save out one ice block to observe without any added variables.
Once the toys were frozen in the blocks of ice, I ran a bit of lukewarm water on the outside of the cups to free the ice. We set each ice block in it’s own bowl, and made labels using index cards. Then we added the variables. To keep things consistent, we measured out one cup of each variable. Although, we could have easily got away with less. Then we set a timer and waited.
We observed the ice in regular intervals and excitedly noted changes. I made a record sheet to keep track of the melting process, and this is free for you to use as well.
It wasn’t long before the first penguin was free. Which variable do you think freed it’s penguin in the fastest time? My son’s hypothesis was correct and he was very proud! But the observation (and fun!) didn’t end until all the penguins were free.
Tips:
- Don’t be afraid to use the correct vocabulary words. Explain the words control, variables, hypothesis, etc in an easy to understand way, and then use them!
- Observe from the start! Look at the ice in the cups. What happened to the water level line when frozen? Did it stay the same? Did the ice expand or contract?
- Salt lowers the freezing point of water and is used to melt ice and prevent freezing. Do the reverse of this experiment and observe how the different variables affect how long it takes water to freeze.
- You could also trade in the toys for a digital kitchen scale. Instead of just observing the melting and freeing the toys, you could drain and measure the water output of each.





Such a simple yet great science experiment. We’ll surely do this soon!
I’m so glad you like it! I hope your family has as much fun with it as mine did!